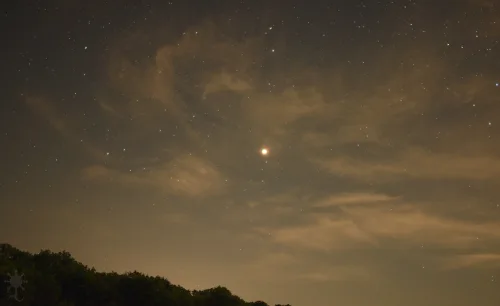
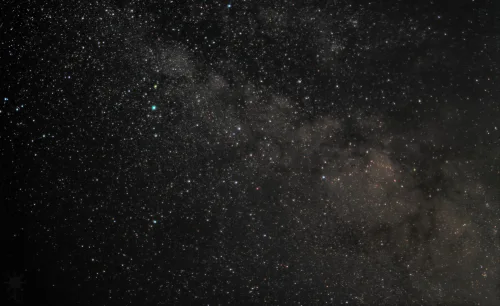
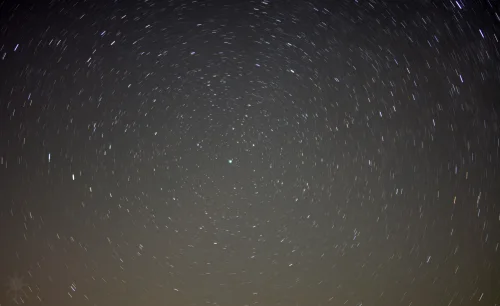
First picture of stars
The night before the 2017 solar eclipse, I learned basic manual photography concepts by reading the terse manual of my DSLR. As practice I took my first picture of stars at night.
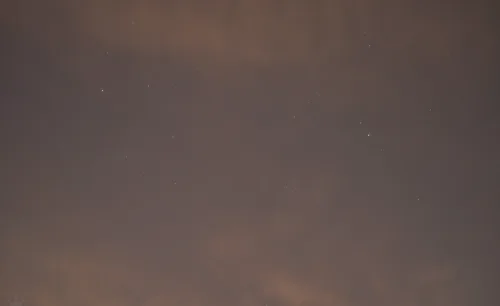
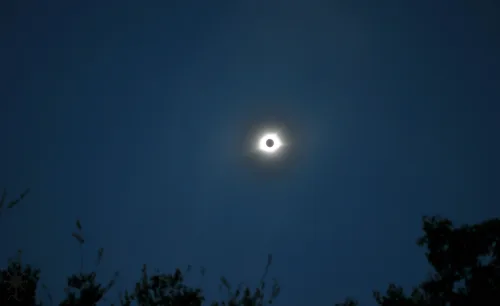
2017 solar eclipse
Used a spray-and-pray approach of brackets-of-bracketed exposures to get my first astro pic where quality mattered to me.
Started research document
I started a document to persist and organize research about what kinds of equipment (telescopes, mounts, cameras, filters, software, etc) exist. Trying to learn the language and get a wide foundation of knowledge to inform decisions that would inform other decisions about what kind of equipment I would want and could eventually stomach paying for.
I became a (terrible) astrophotographer!
Intense research continues to fill all my spare time. After well over six months, I start accusing myself of being an armchair enthusiast: wasting months of time in a lie to myself that it is going somewhere without taking any action.
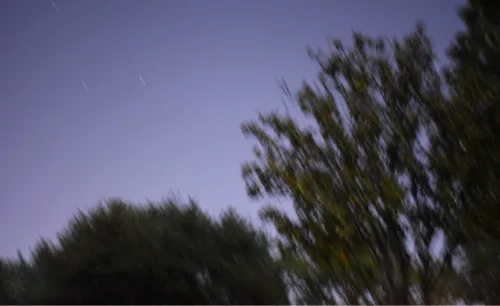
Although still not prepared to spend money wisely, I needed to break the momentum of doing nothing - by doing something. As a token action, I went out to take a very bad astrophoto. This was my (indeed, truly awful) bad astrophoto - DSLR handheld in my front yard.
I'm now a really terrible astrophotographer, instead of not one at all. Yay. Now I just have to get better.
First time leaving the house to do AP
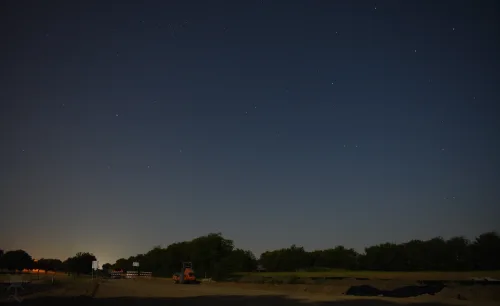
I went out to a field in my neighborhood and set up a tripod. I tried to get some mental calibration of what to expect from the camera at night, and the effects of light pollution. I learned that, as bad as light pollution is, the moon is far worse.
First dark site trip
I invested some time to find a location with a good ratio of darkness to drive time. Getting in the car and driving 1.5 hours to the middle of nowhere to sit on the side of the road is not a normal thing people do, and it felt significant simply to try to normalize that.
I started to figure out how to focus on stars and make use of shutter speed.
More about this outing here in the gallery.
First $$$ plunge
Bought a Rokinon 24mm F/1.4 lens.
Started making lists of potential mounts and scopes I might want, along with their stats and prices.
First properly scheduled dark site trip
Made a tentative plan to eventually go in the direction of an ED127 telescope from Explore Scientific, and an Orion Atlas mount.
Made an account on CloudyNights
After growing concern about the low quality of my recently purchased lens, I returned it for a replacement.
On recommendation from a CloudyNights user, I bought Charles Bracken's reference book "The Deep-Sky Imaging Primer". An incredible education on so many aspects of the subject I wasn't even aware of.
Reading this book was like getting a bachelors degree in something where I had previously been scrounging for reliable tidbits. I bathed it in highlighter reading it cover to cover and then went back over the highlights several times.
Second Rokinon lens was as bad as the first one in a different way. Frustratedly returned the second one for a third one. Third was only marginally better (maybe?) but, exhausted, I decided to keep it and just work with it.
Took the big plunge
Bought the EQ6R-Pro mount from Sky-Watcher. Also bought a 5" FCD100 refractor and a field flattener along with some eye pieces from Explore Scientific.
I have a telescope!
Got my gear in the mail.
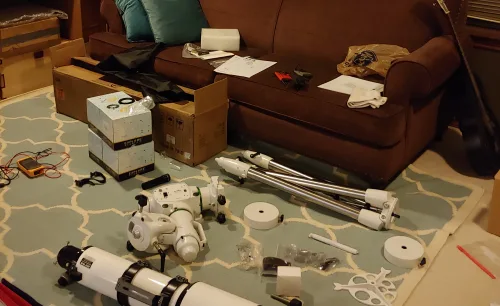
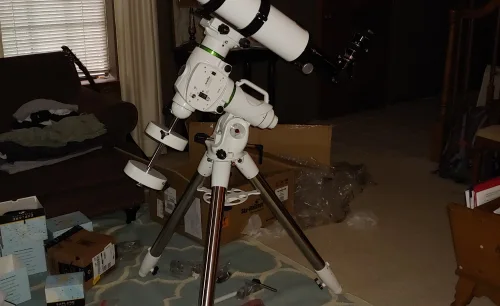
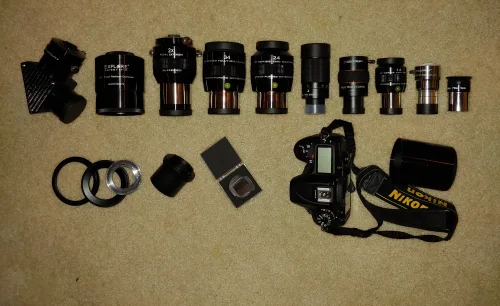
First light
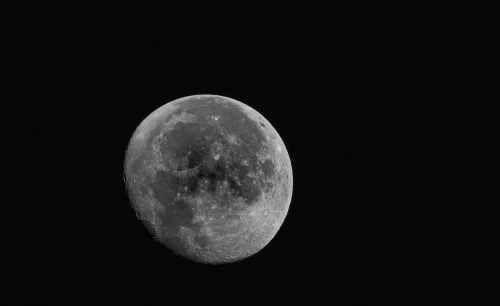
First time out with the mount and scope. Unable to figure out polar alignment or star alignment, and couldn't get tracking to come on. Brought home an image of the moon, made using the mount as an inanimate tripod.
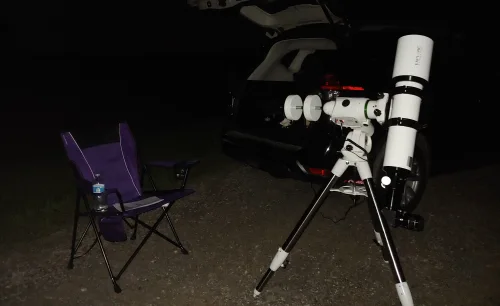
First DSO
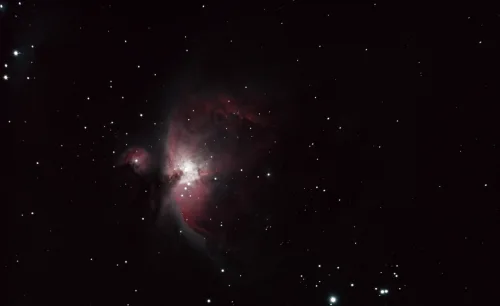
Second time out to the dark site with my rig I managed to bring home 10 minutes of data on M42, my first deep space object with color and details.
This is a 2021 reprocess of the data.
Bought PixInsight
Although I have been playing around with DeepSkyStacker, PhotoShop, and even had bought a license to StarTools, I started getting the hint that PixInsight is the real way to process images. It's expensive and there is a free trial available but I knew it was where I wanted to ultimately have my skills centered so I just went straight for a full license and started mustering up to the learning curve.
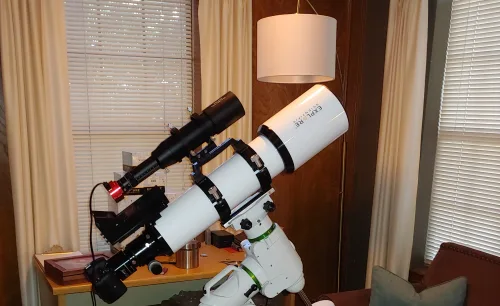
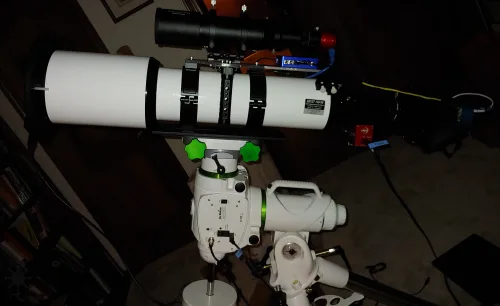
Rig superficially put together with the guidescope and ASCOM control to a laptop.
Hobby, Interrupted
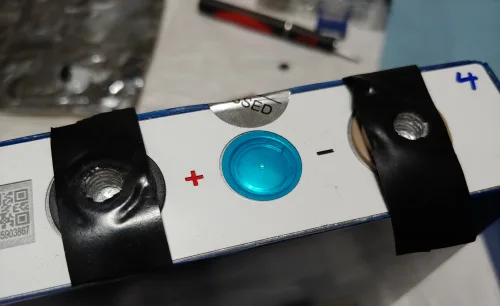
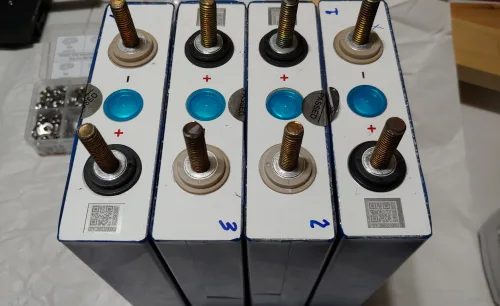
After a lot of research and deciding to invest in lithium iron phosphate cells to make a high quality battery for mobile telescope power, the cells I received were a disaster. Labeled wrong for starters, then the terminals were tapped with tiny M4 threads that stripped out before I could ever even test them. I was so frustrated (and determined to fix them but unsure how to proceed) it basically killed my enthusiasm and momentum in the hobby for a year and a half.
Plus, COVID happened.
Perseids 2021
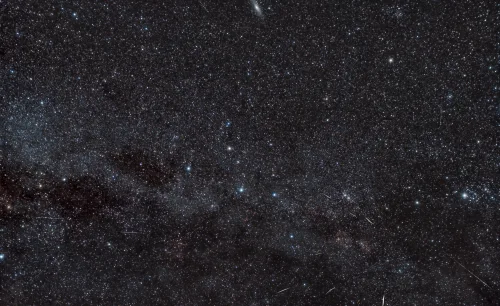
In trying to get myself back into things, I went out to see the Perseid meteor shower with my parents. I just used an old car battery to power the EQ6R as an overkill star tracker for the DSLR while taking 20 second exposures to capture meteors for a composite. Ended up with two images
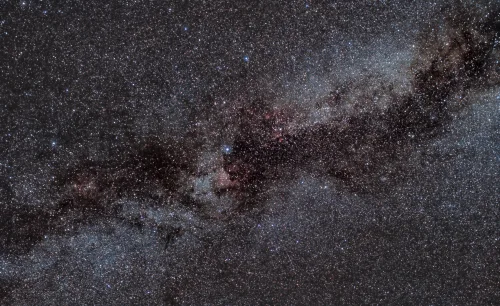
Joined a Discord server about astrophotography and started talking to people about it constantly every day.
Obsession fully restored.
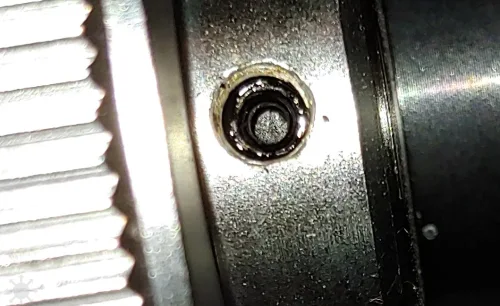
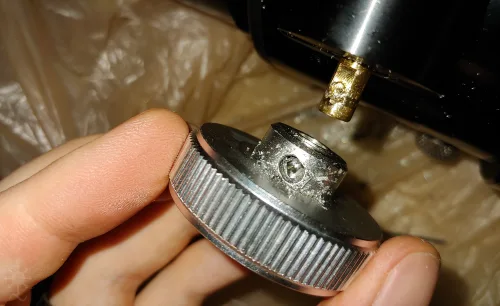
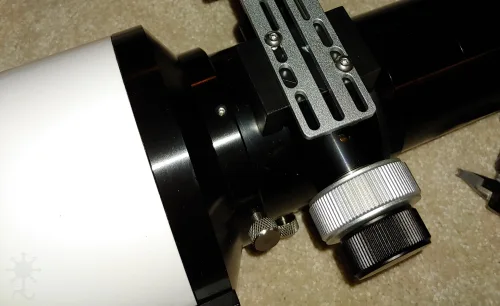
Got an autofocuser installed on my scope. Had to drill out the pre-rounded grub screws and have a shim 3d printed.
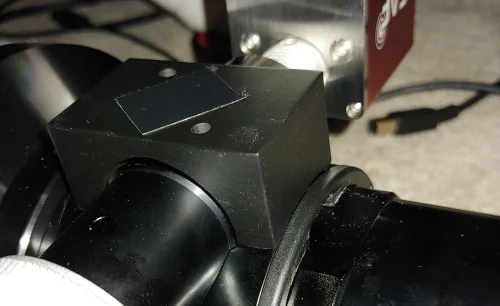
I also replaced the crummy vixen dovetail with a nice Losmandy-style d-plate - hard to overstate what an improvement that is.
12 volts FTW
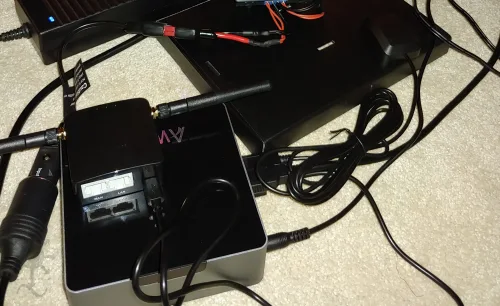
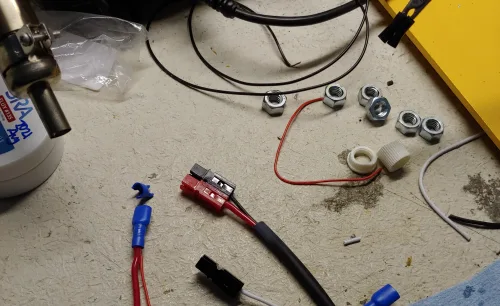
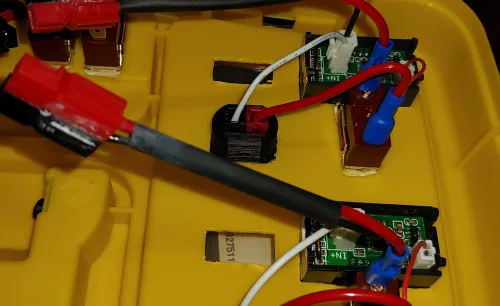
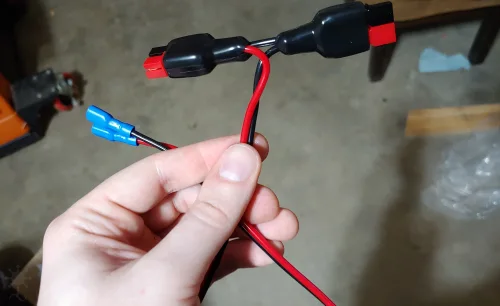
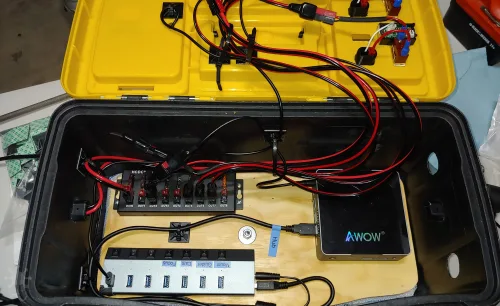
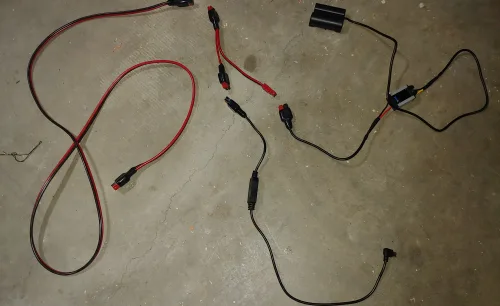
Got all the components needed for a proper rig (minipc, wifi, mount, powered usb hub) running off of a single 12v circuit with a bunch of modular cables I made with power pole connectors. As opposed to a bunch of random AC adapters for every separate thing. This can all run off a battery now.
I've gone mono!
After some heavy decision making, I took big-money-plunge-number-two and bought a 26mp cooled monochrome astronomical camera, an electronic filter wheel, and a full set of LRGBSHO filters.
Ouch!
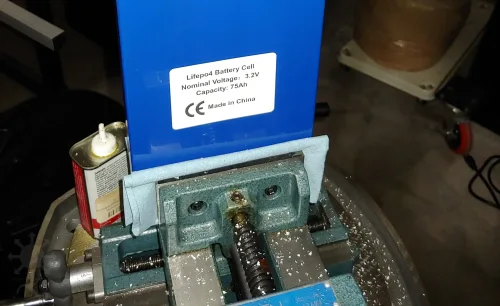
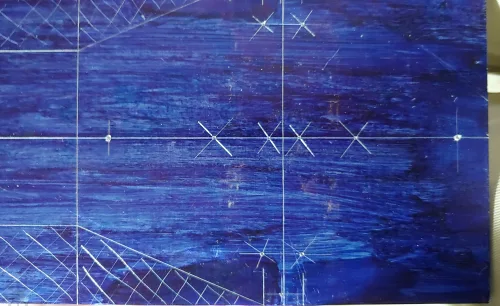
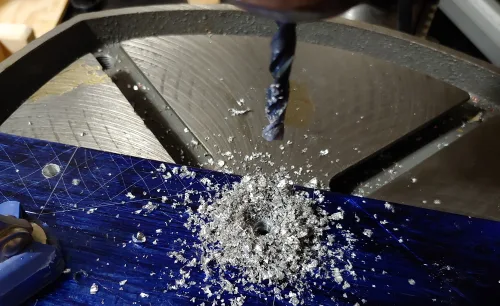
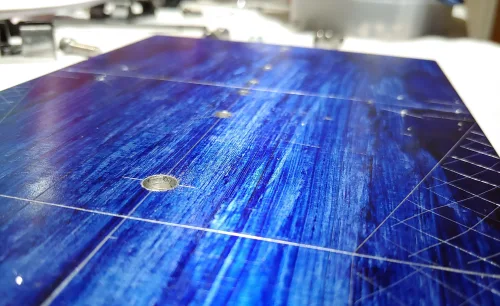
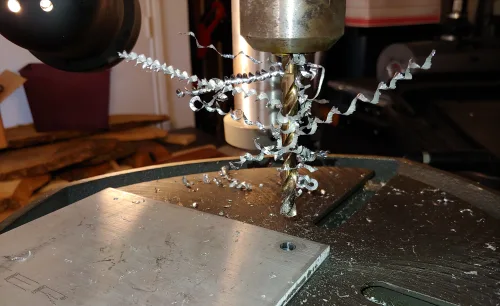
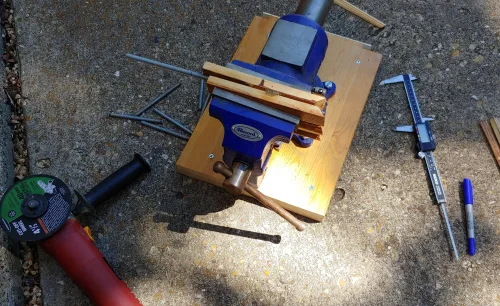
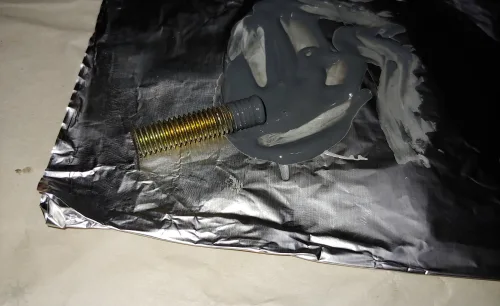
Finally worked up the courage to attempt a fix for my cursed LiFePO4 cells, involving redrilling the aluminum terminals without causing a fire/explosion/death. I preplanned it thoroughly and executed it carefully. Don't try this at home kids!
I'm still far from having a usable battery, but that can actually move forward now.
First integration test
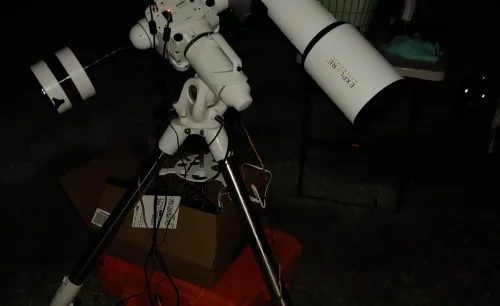
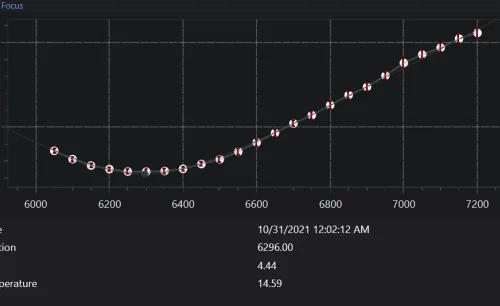
Tested the rig with all the components, computer controlled through NINA. First time to do a computer assisted polar alignment, plate solve, go-to slew a pre-set target and center, and then automatically focus and start taking images. Seeing it slew to a target was the most magical feeling...
Only a few hiccups with wifi, pointing backwards due to bad lat and long, and inefficient autofocus parameters.
Battery Testing
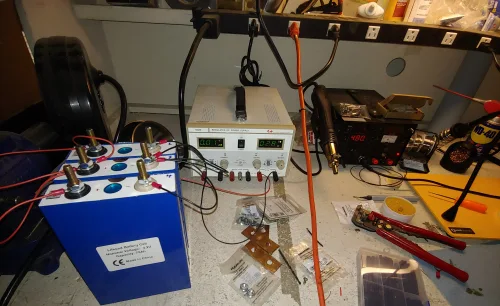
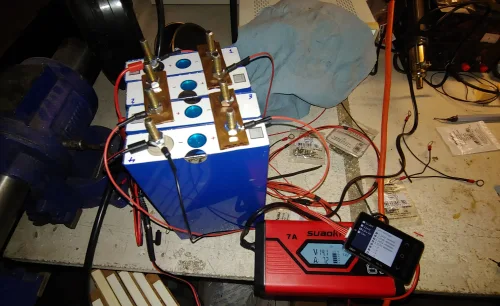
After repairing the terminals, I was finally able to run charge/discharge tests on the cells I should have been able to run 2 years ago. Two of them had gone deep into a level of discharge that could indicate irreparable damage, but after an extremely slow charge (a week starting at .2 amps) they held charge for a month and seemed ok.
Camera in hand
Mono astrocam came in the mail
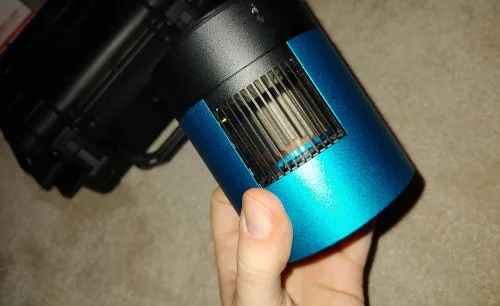
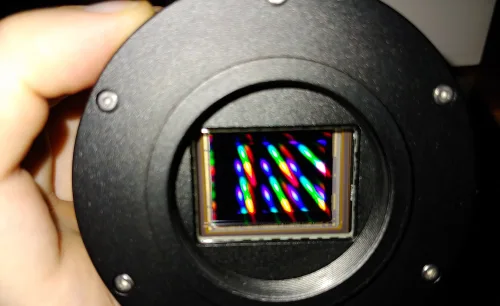
Camera fan upgraded
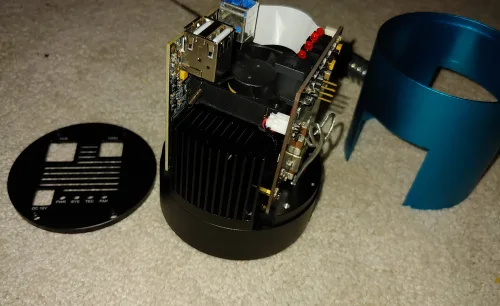
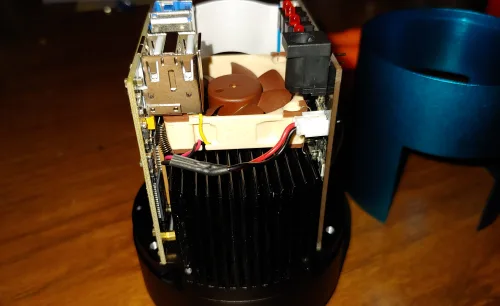
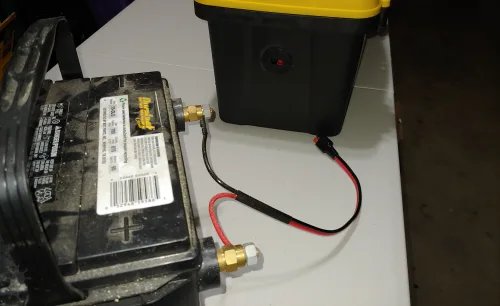
After multiple years of design revision of a combination battery/brain box, I decided to split them and just YOLO the design.
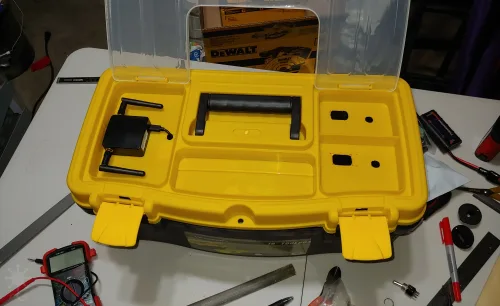
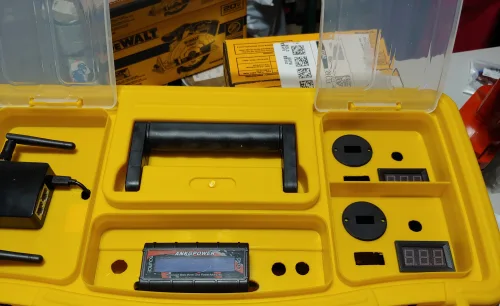
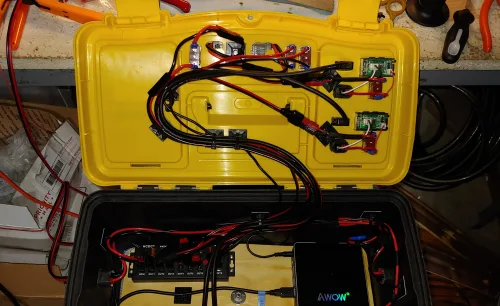
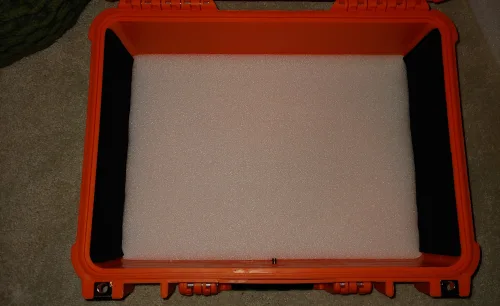
This cheap toolbox from Harbor Freight was chosen for the brain box. As a (literal) platform to get started I made a flat floor on the inside with some cut plywood cushioned on foam.

Filters installed in filter wheel


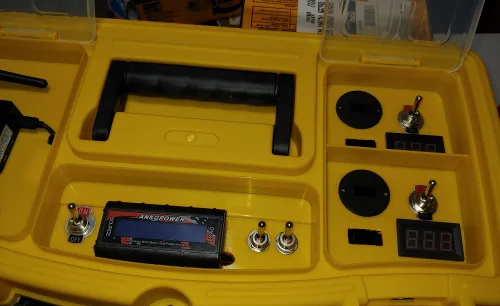
Brainbox Finished!
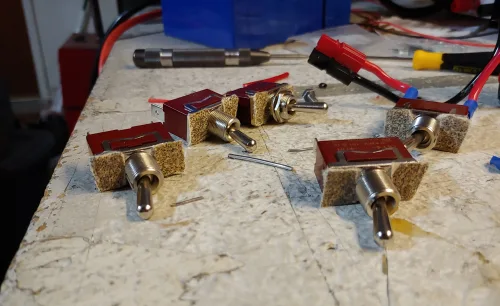
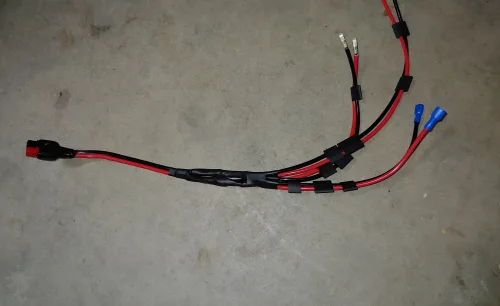
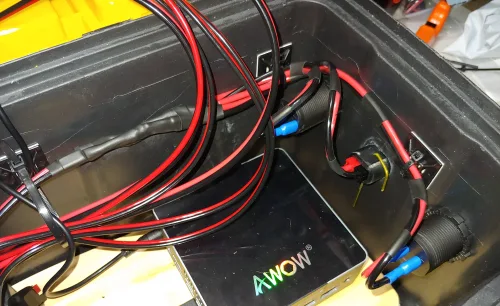
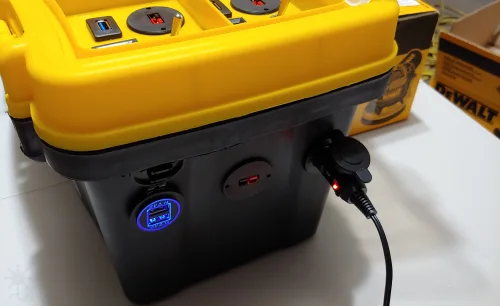
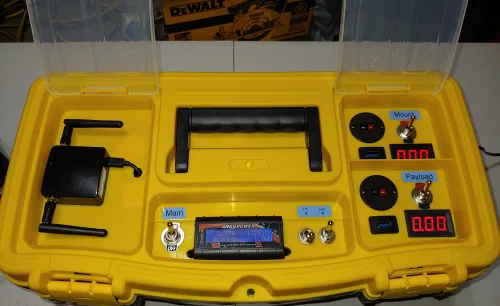
Initial brainbox build complete after an intense month of design, cable/connection making, problem solving, and modification.
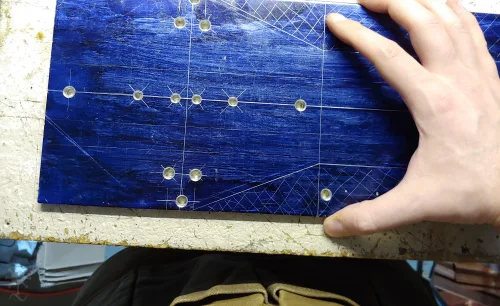
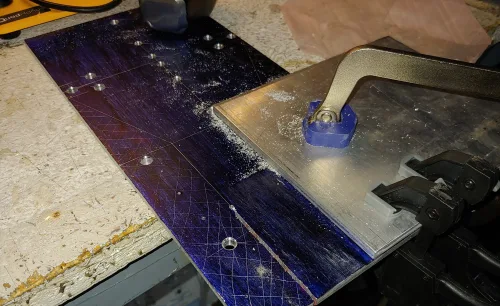
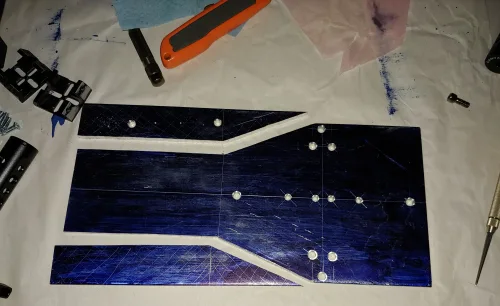
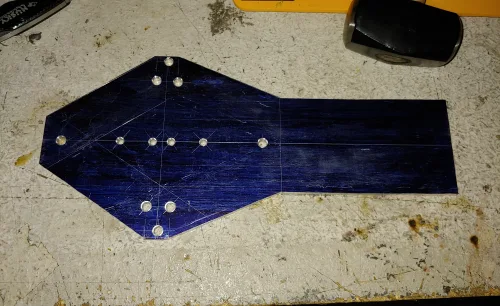
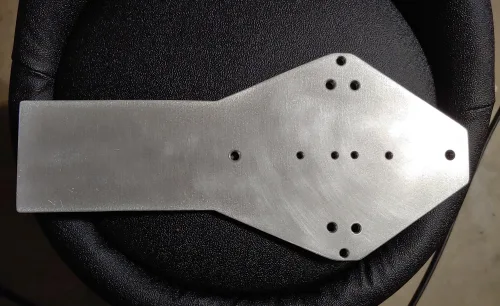
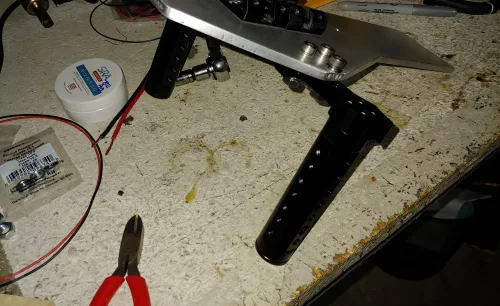
Accessory attachment plate finished!
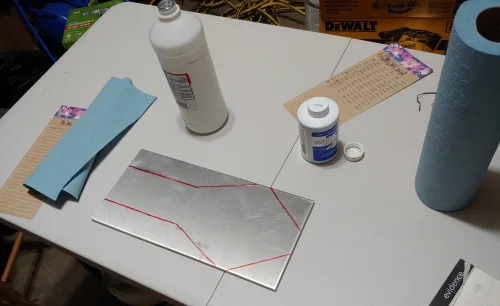
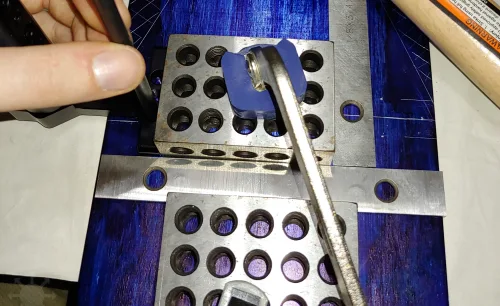
Made a 1/4" aluminum "spine" to securely attach camera grips and lower the center of gravity of the guidescope.


Camera first light
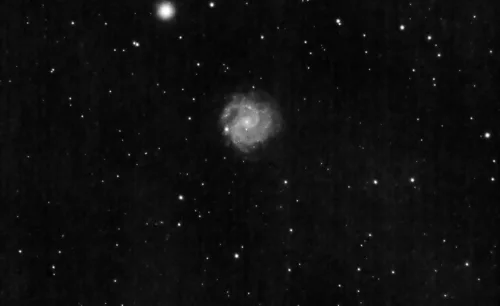
First monocam test image. Truly a mono image since it was only luminance frames.
For whatever reason, I included this in the gallery.
Initial backfocus reached
I got backfocus sorted out for the new camera after lots of pain.
Additionally, many firsts: First successful autoguiding. First time to run a proper NINA sequence. First time to get light through all non-luminance filters. First time to run and set filter offsets for autofocus. First time to use the manual rotator for NINA assisted framing. First time to run an automated meridian flip (on accident!). First time to use automated dithering.
First time to run a sequence with multiple filters and actually shoot in mono LRGB, although the data was junk.
Cable Management Goals
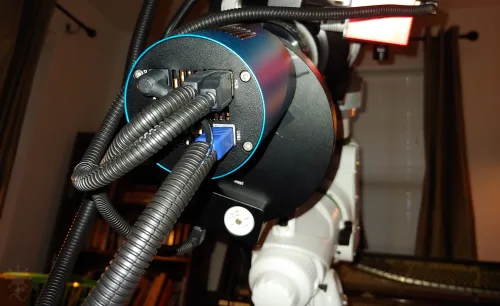
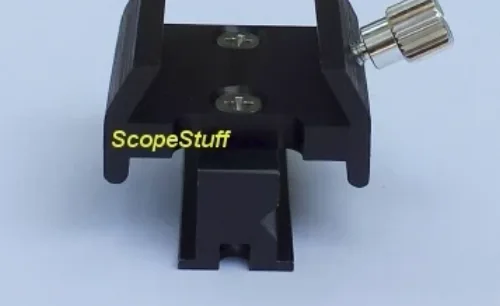
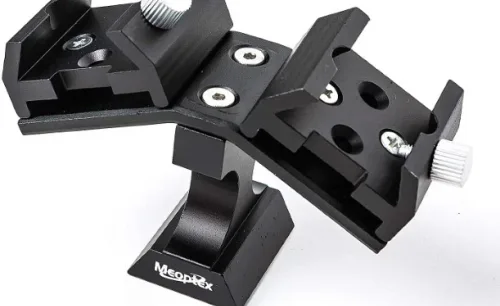
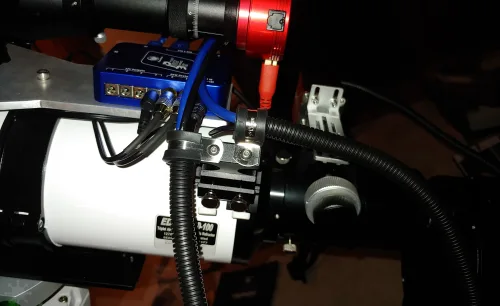
Perfect length cables selected out of a huge variety ordered. Cables loomed. Cable anchorpoint/stress relief made out of a finder shoe, riser, and some hose clamps.
Dark Site Locations
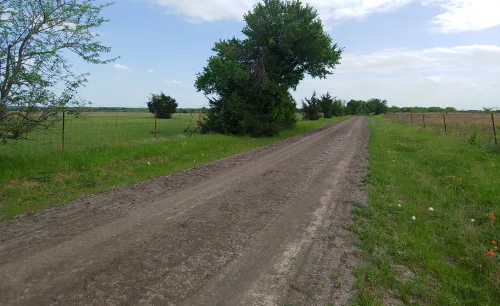
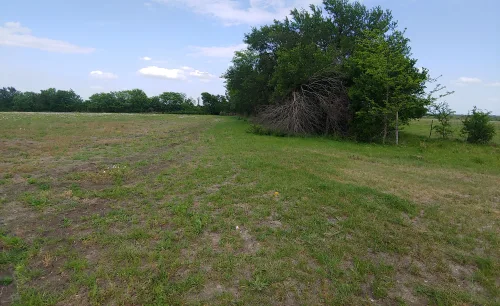
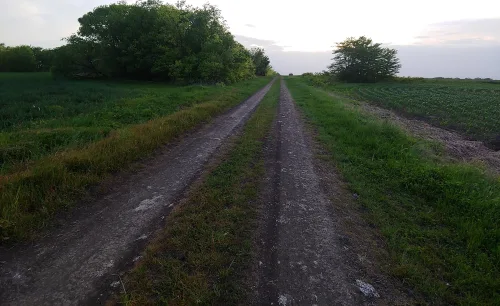
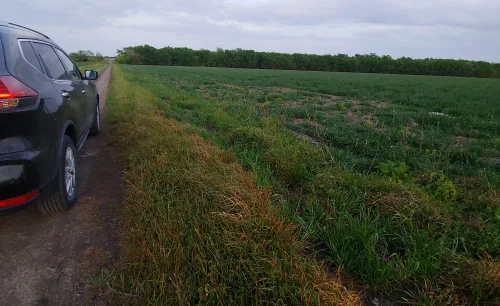
15 hours over a week scrolling maps and spread-sheeting >20 possible dark site locations and then driving to each of them over a Saturday and Sunday.
Two decent locations shook out of it.
Stalled Launch
Psyched to image for real with finally "completed" rig at new dark site. Days of preparation before a 1.5 hour drive. Got there right at sundown, new moon, miraculous hole in the bad weather. Set up all my equipment.
Had a wifi problem I've never seen in all my testing (even the night before). After 3 frustrating hours trying to work around it, I packed up and drove back home.
The minipc I bought and set up is not going to work...
Cursed Shelf
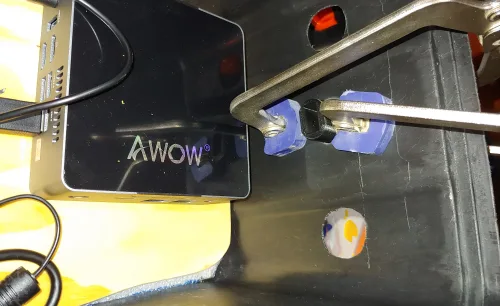
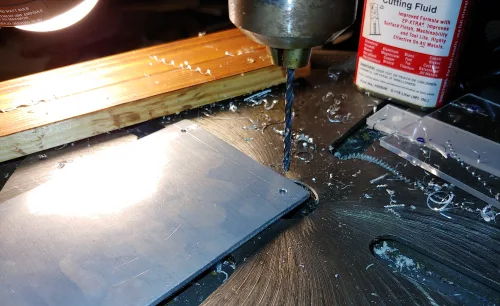
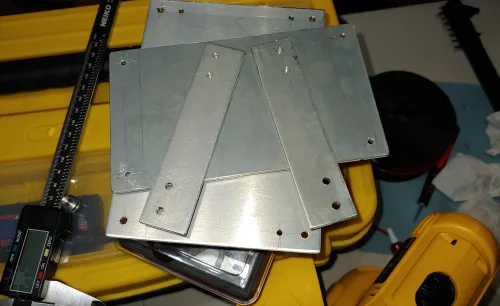
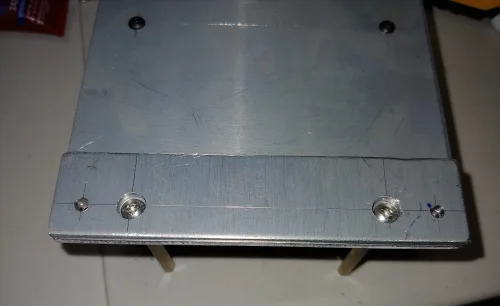
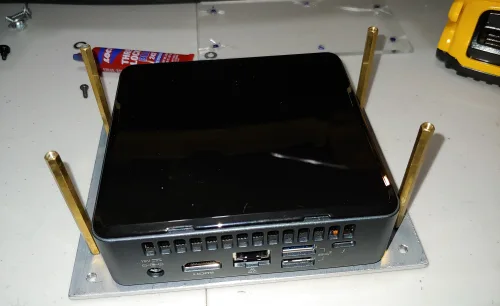
Got a new, better minipc to fix the wifi problem, but also to perform better for platesolving and livestacking. It takes 19v instead of 12v, thus needing a regulator, and having a way to mount that in the brainbox was another never ending source of pain. I kept retrying to make a shelf for it out of acrylic but it would crack every time -- even with finger-tight screws and foam padding. After 5 failed tries I made it out of metal.
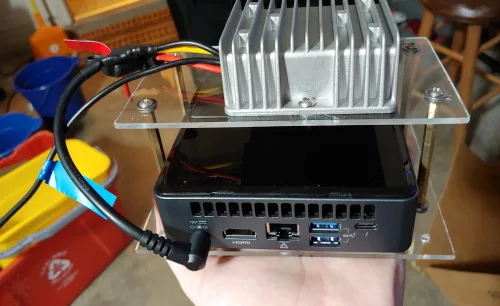
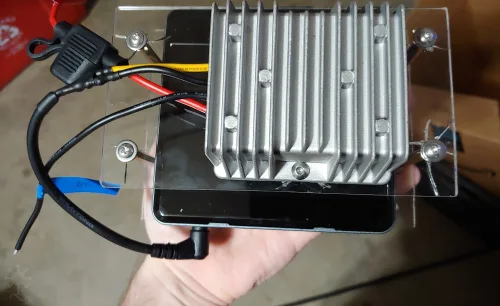
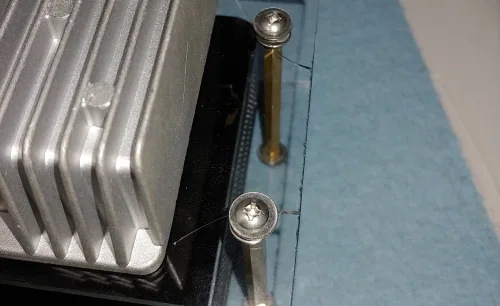
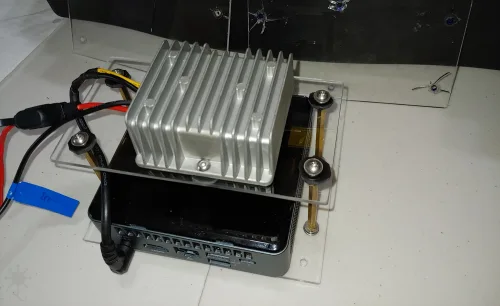
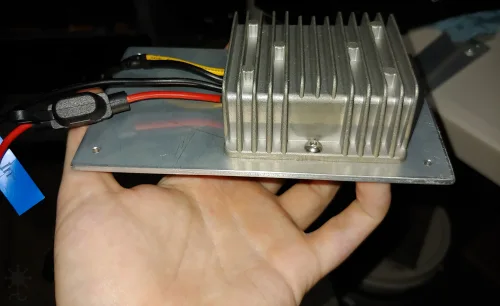
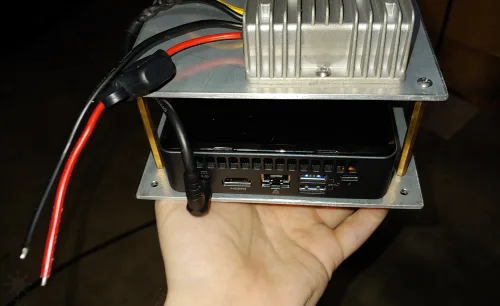
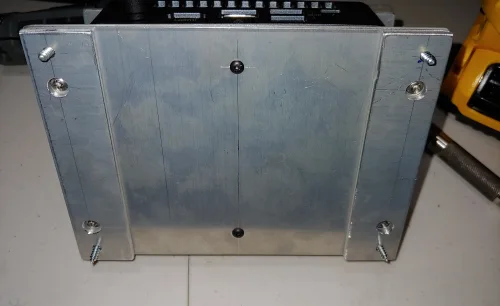
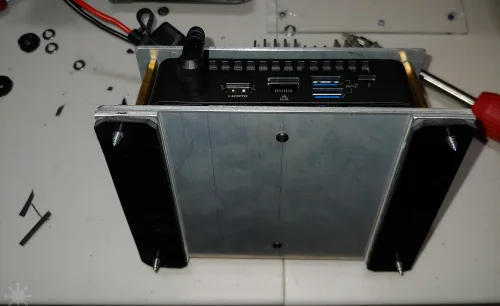
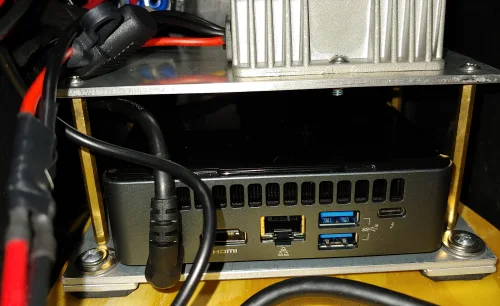
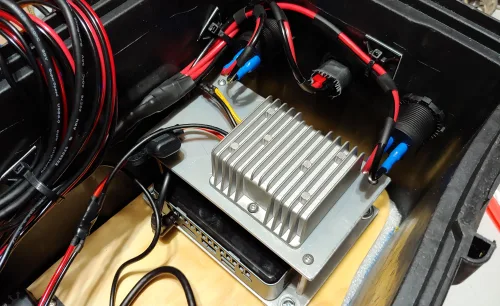
Changes after false start #2
First trip out after replacing minipc due to wifi problem I had another wifi problem -- this time with the router. I replaced it with a better one and re-snaked the cables with a hard data connection between the router and PC.
Also made room for a GPS.
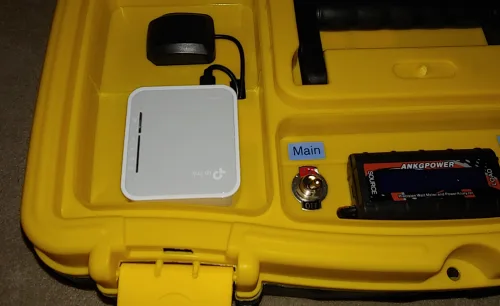
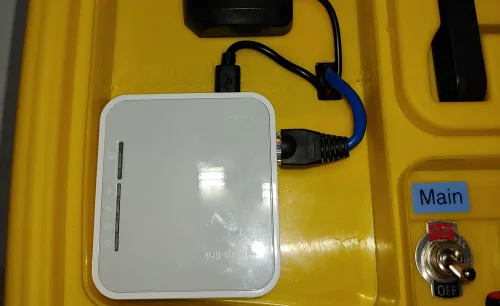
First mono LRGB image
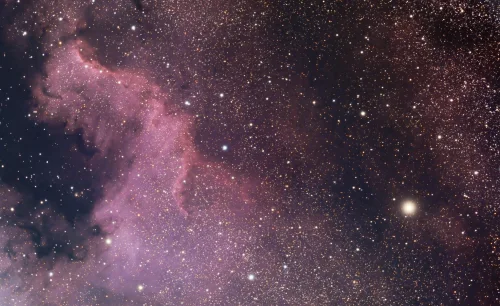
After re-buying almost all electronics, I was able to test the monocam and filters, and to get data that I could actually combine with get coherent color separation and a luminance combination for the first time. See in gallery.
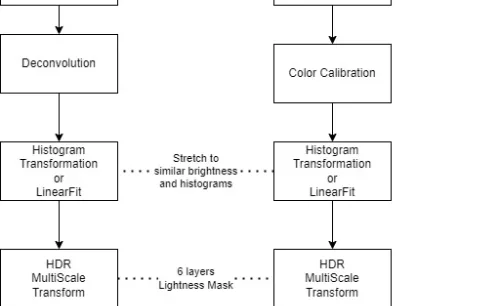
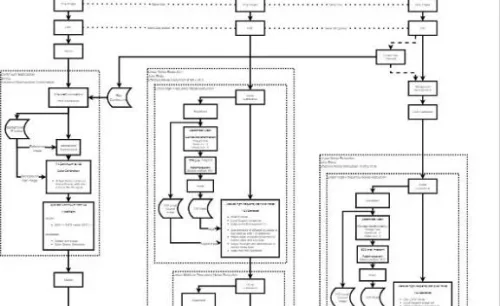
Threw all my naive processing skills away and started relearning everything from scratch, documenting an evolving process with a flowchart.
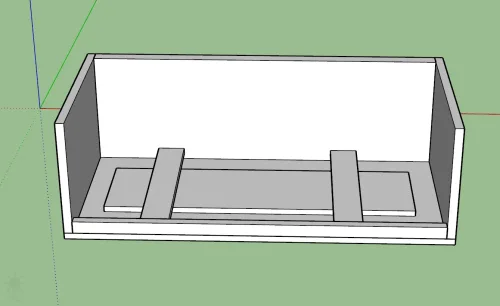
Transport Rig Plan
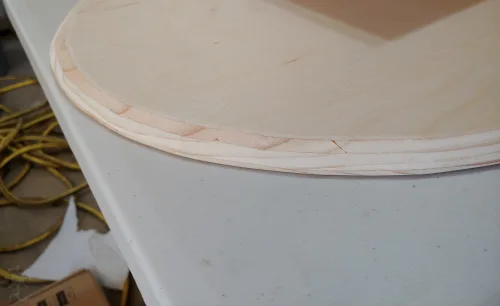
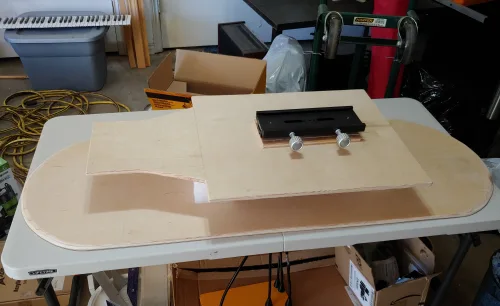
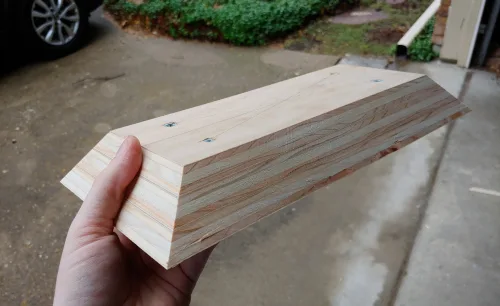
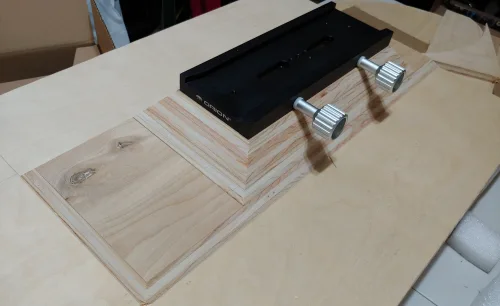
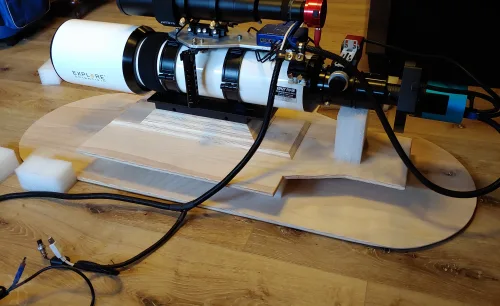
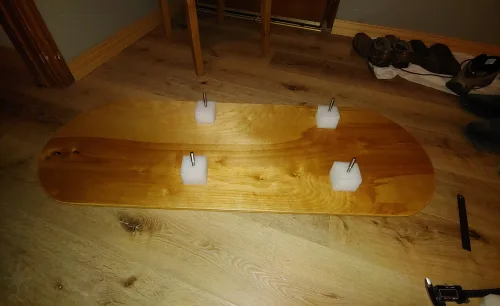
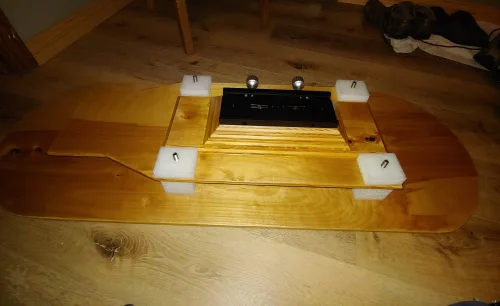
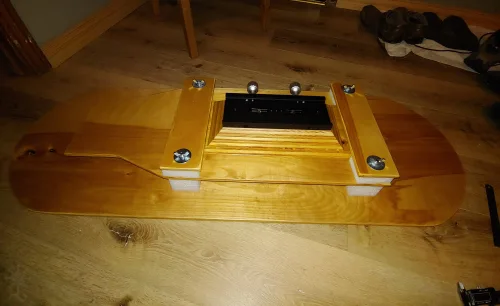
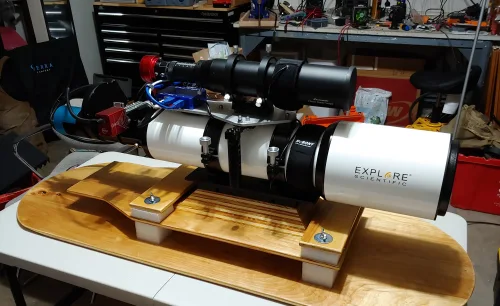
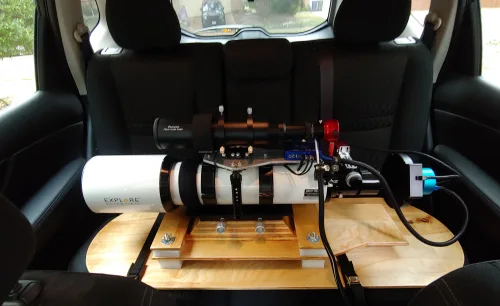
After years of kicking around designs for a shock absorbing road case for my scope, I moved past the idea of having it enclosed, and planned an open version much lighter and more manageable for strapping into the car.
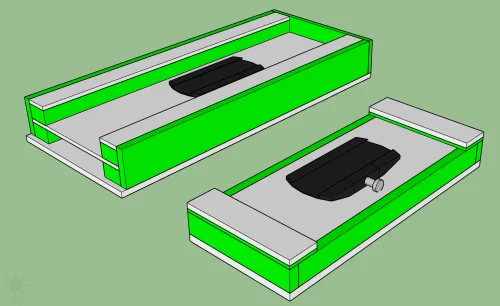
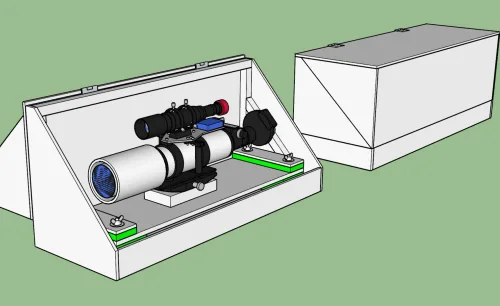
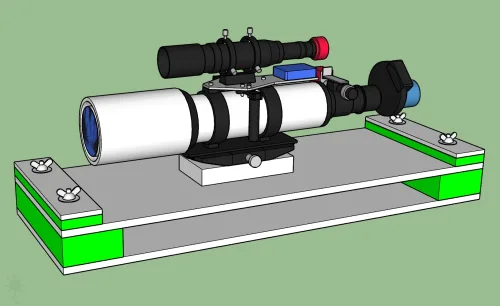
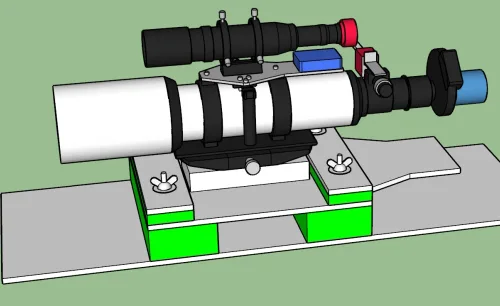
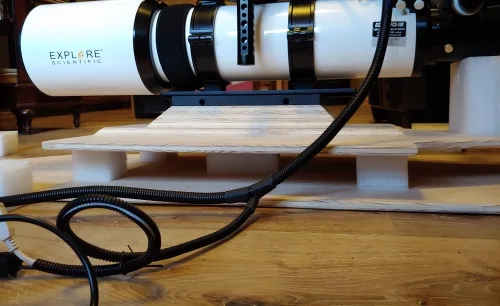
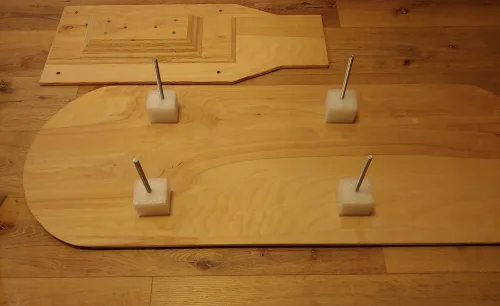
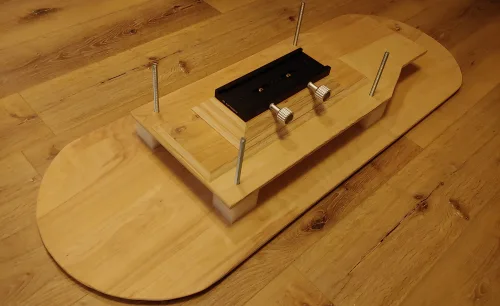
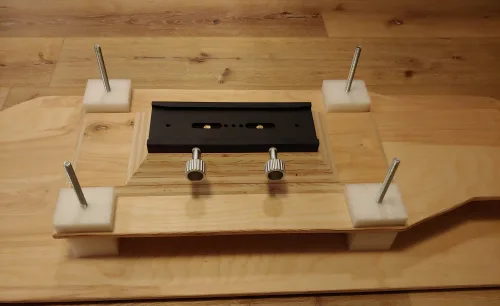
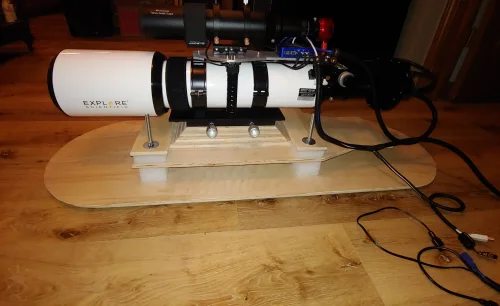
Scope Car Seat Built!
Transport rig fully built, tested, and polished.
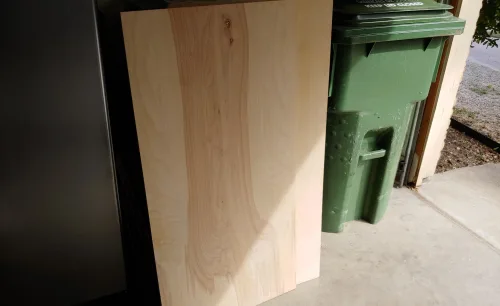

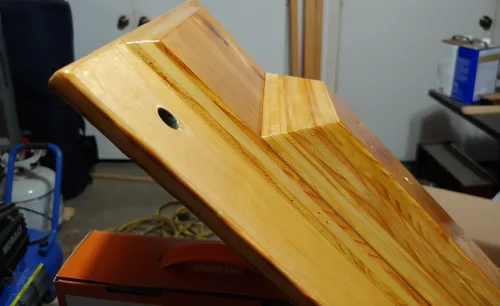
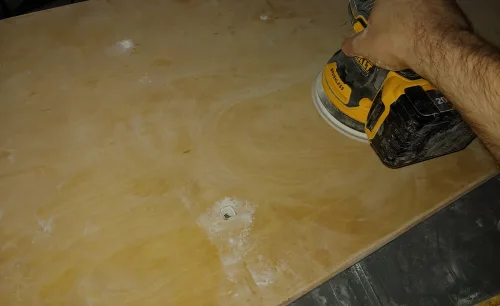
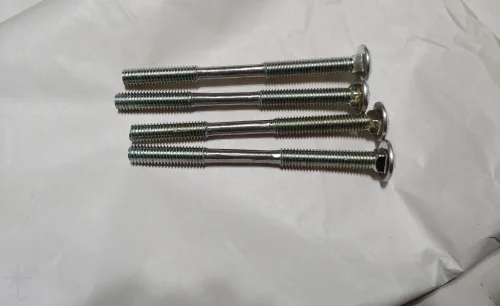
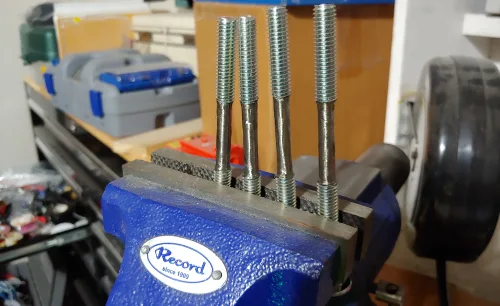
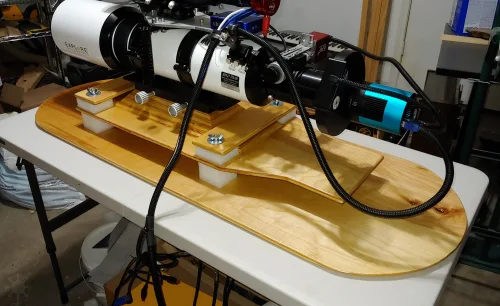
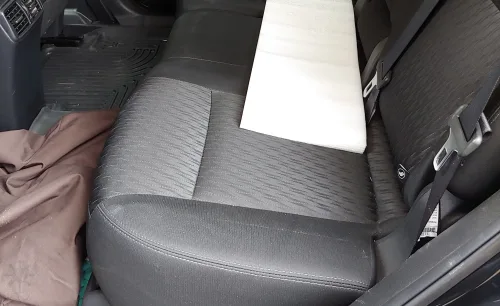
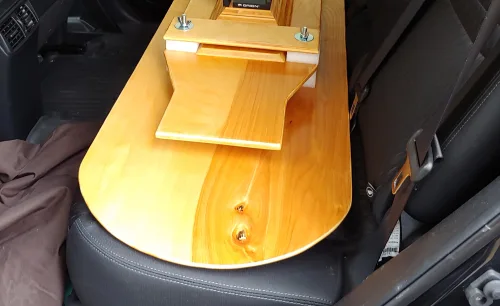
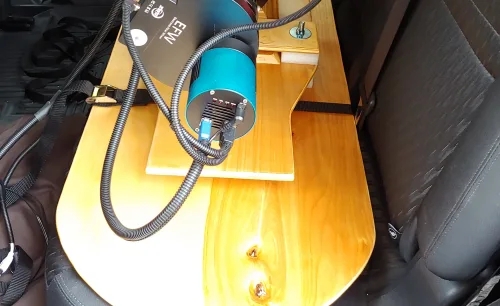
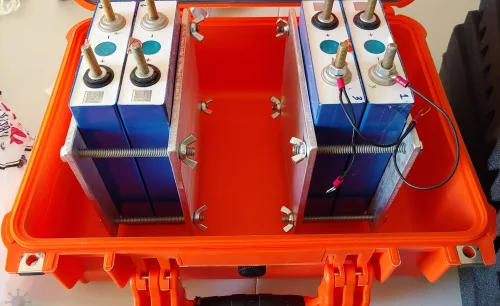
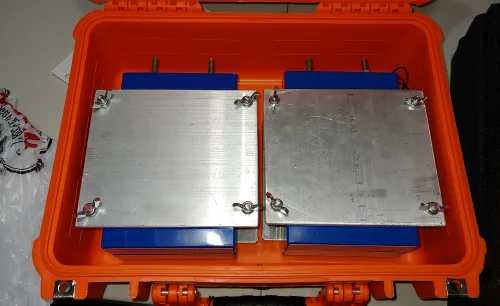
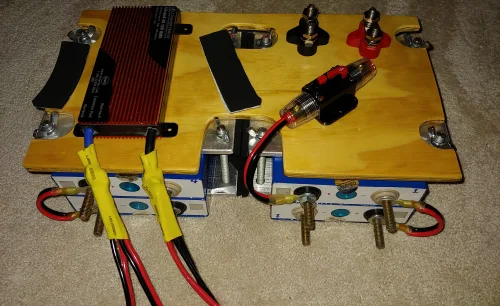
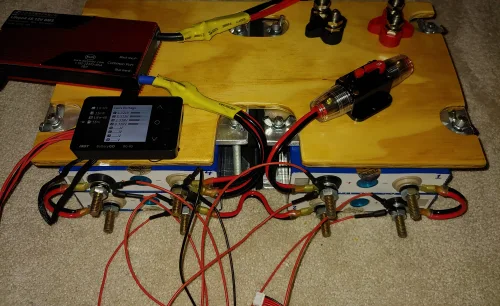
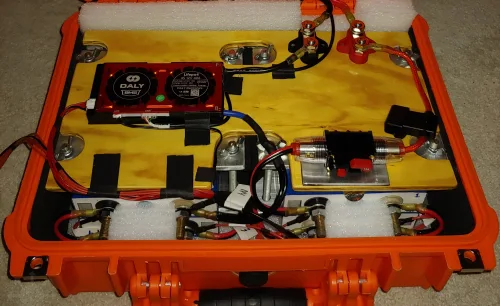
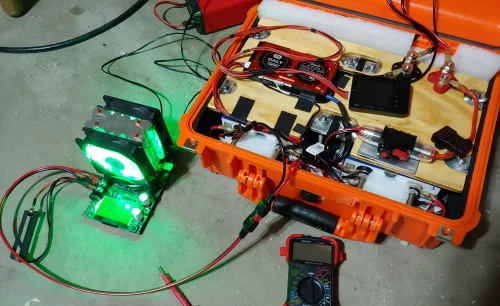
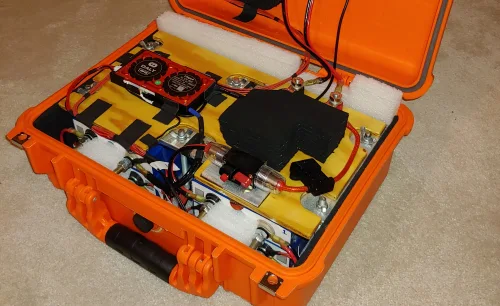
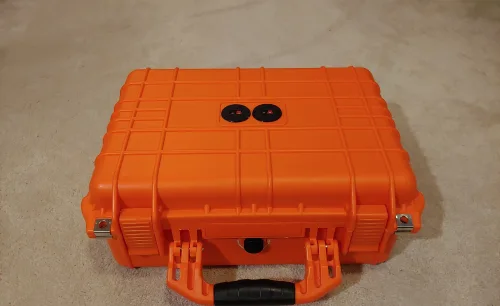
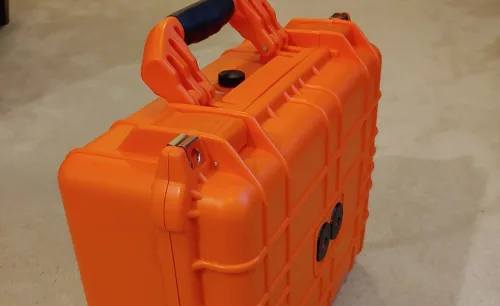
Battery Finally Built!
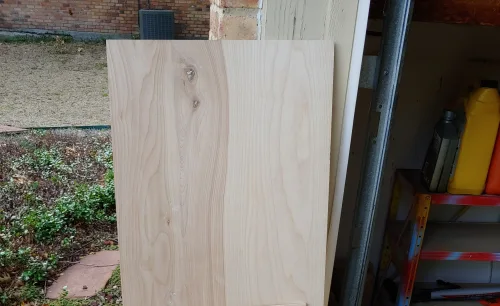
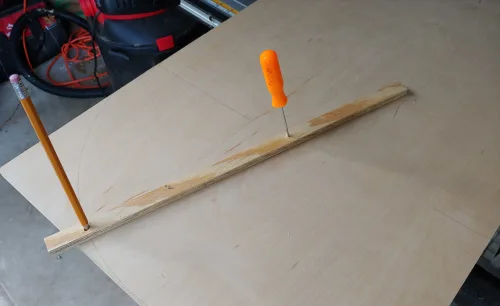
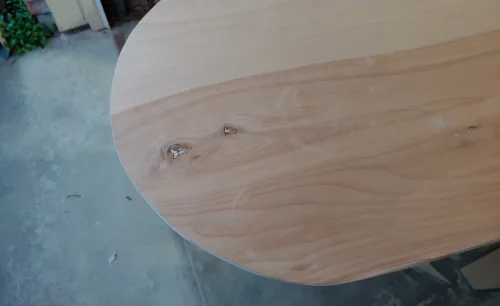
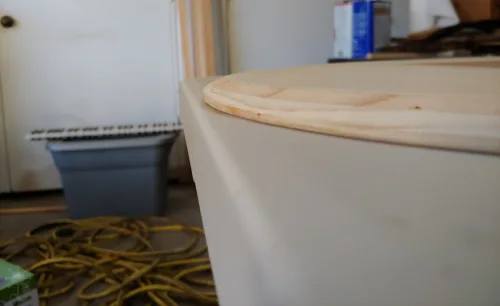
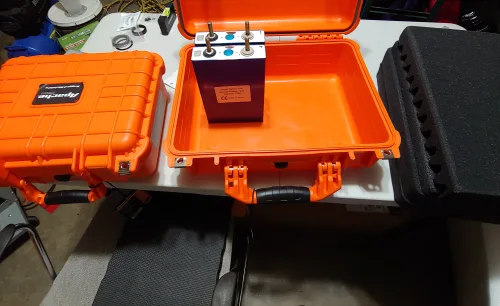
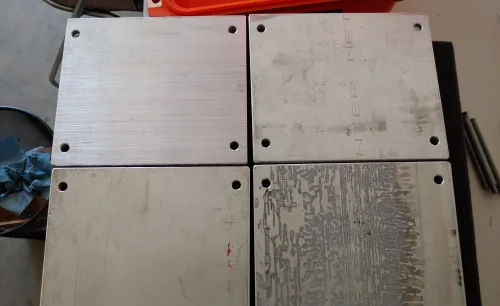
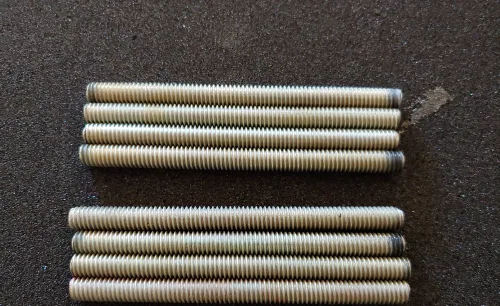
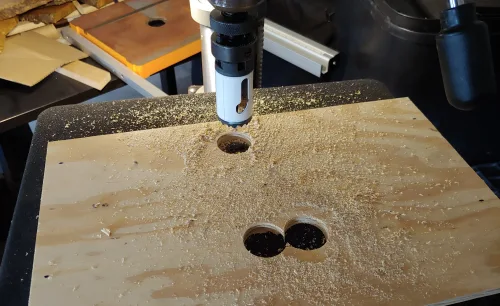
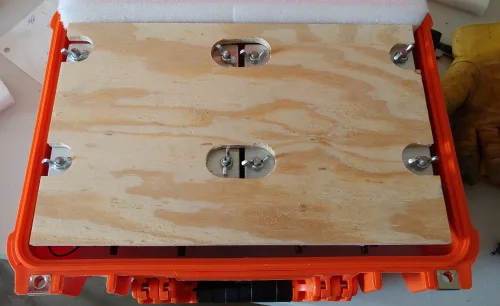
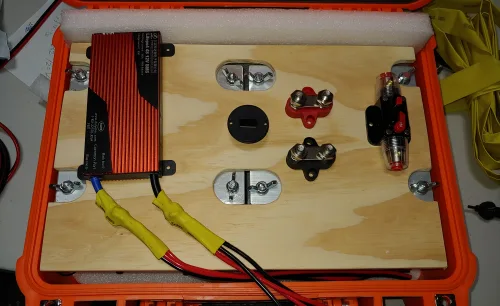
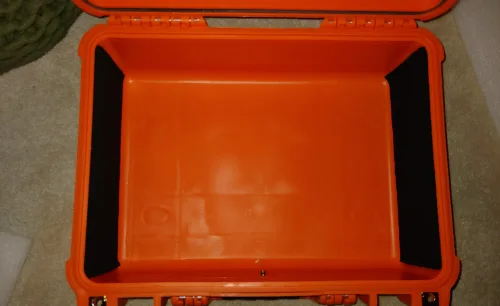
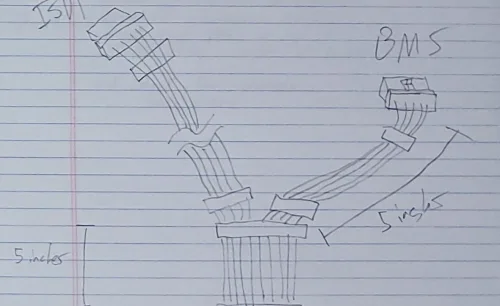
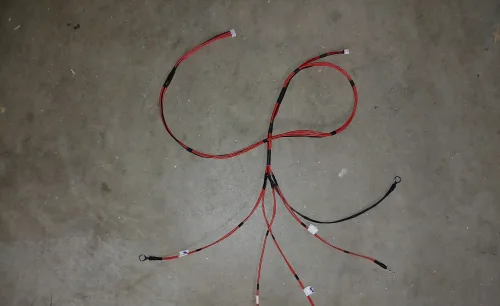
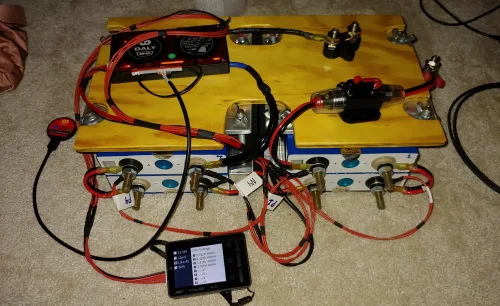
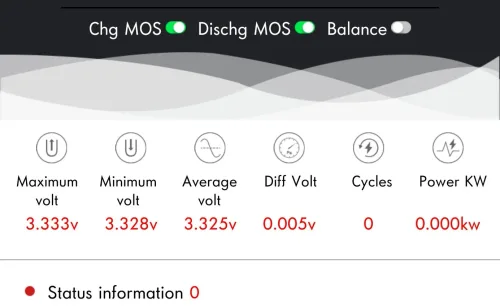
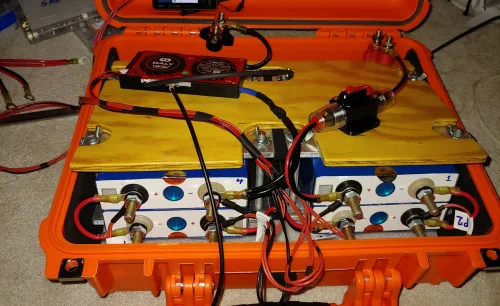
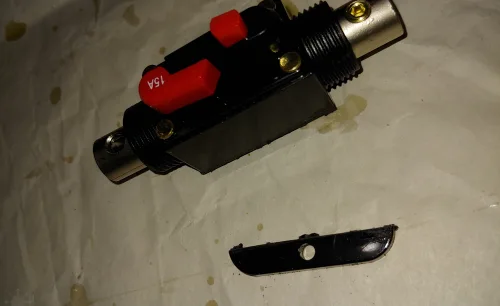
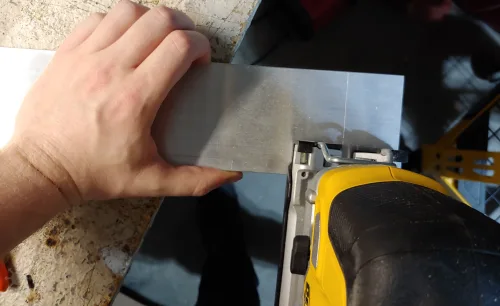
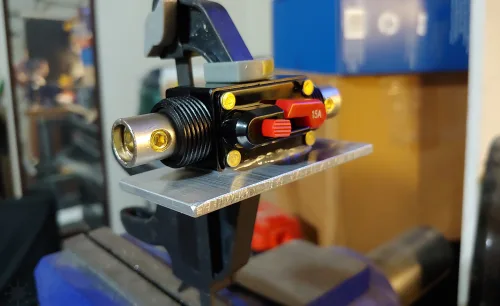
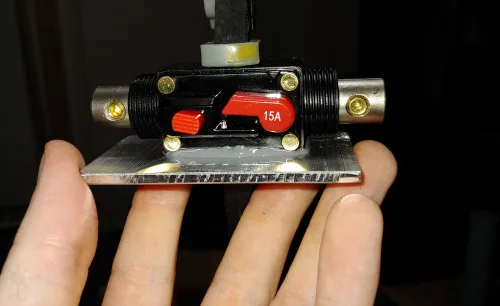
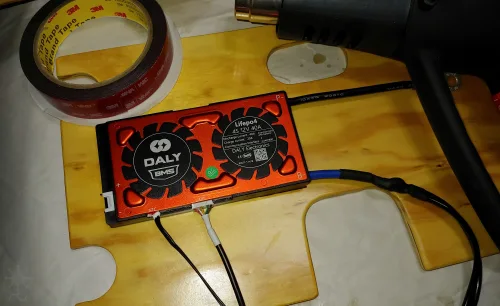
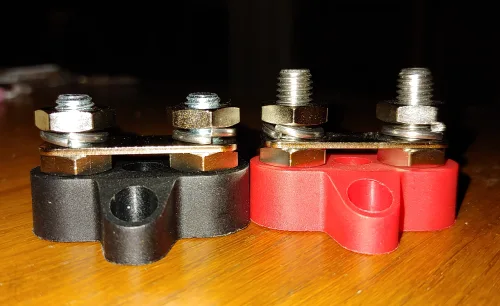
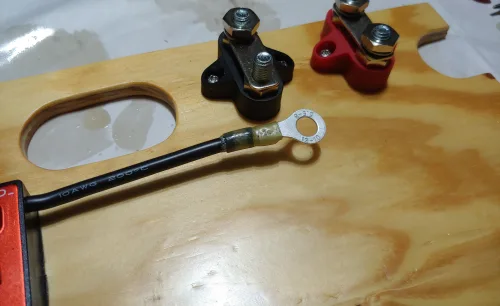
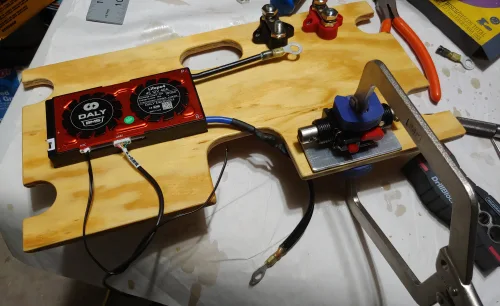
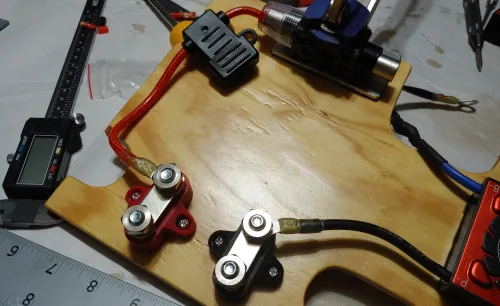
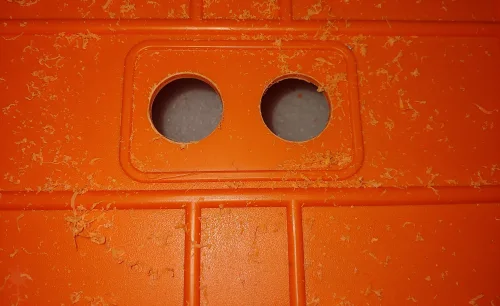
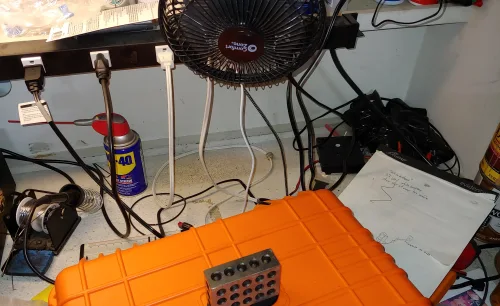
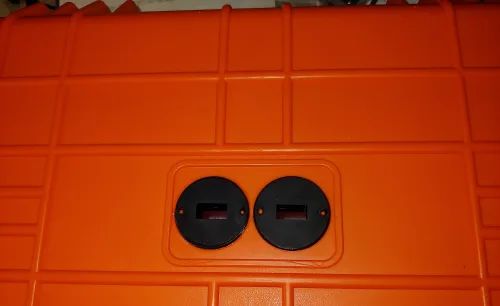
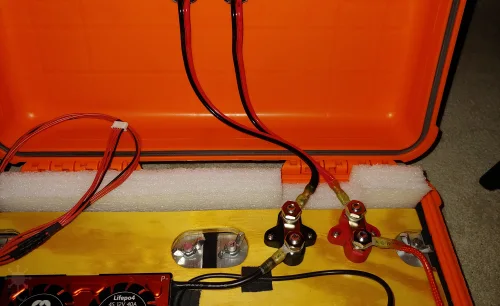
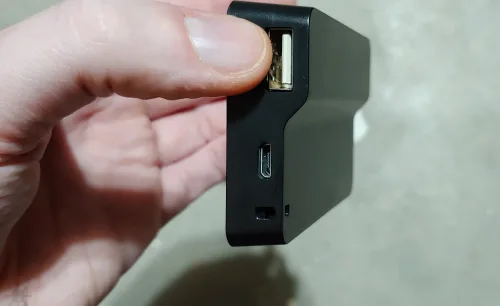
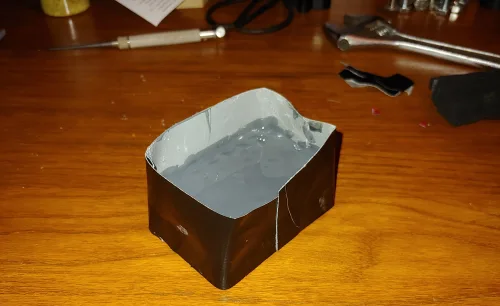
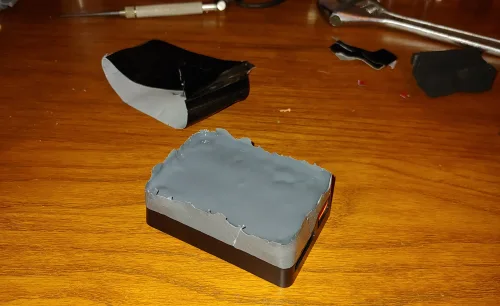
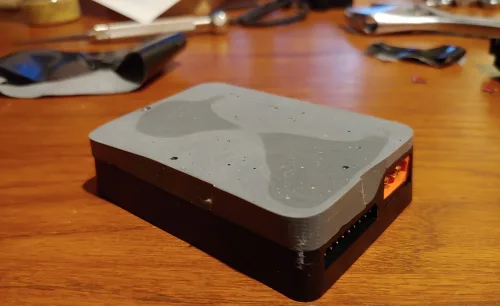
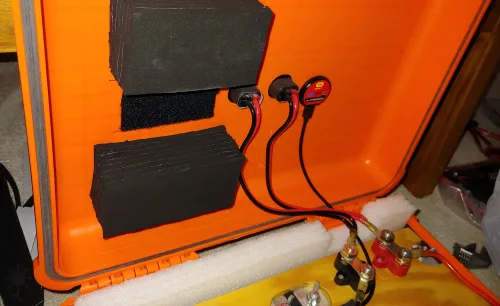
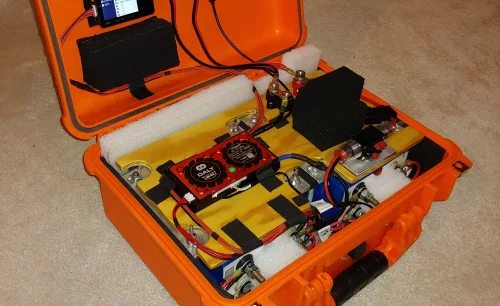
Finished the battery box. This was a long, intense project.
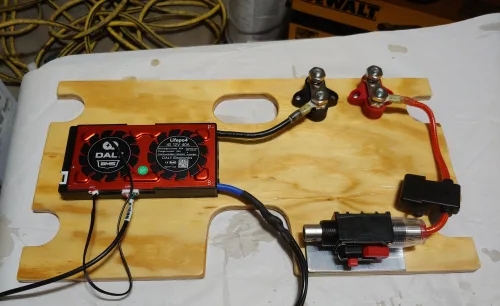
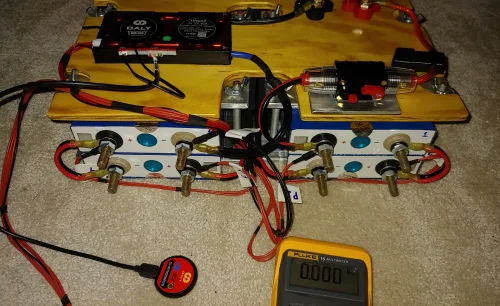
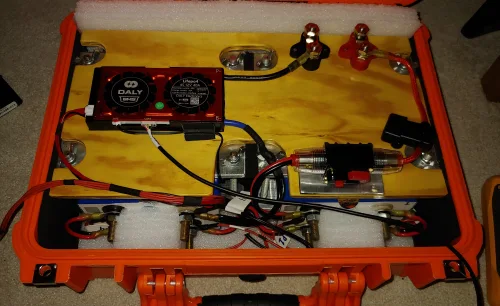
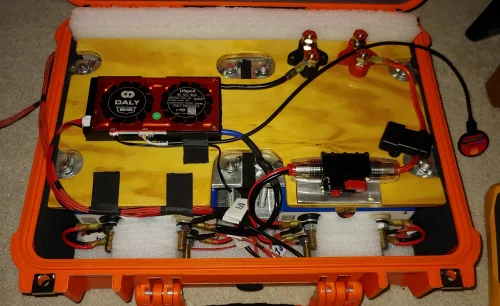

Mini-rig
Taking advantage of some sales, I bought a SWSA and a 135mm Rokinon prime lens, to make a smaller, secondary rig to run at the same time when I go out and get more value out of my travel time.
Mini-rig tripod
I bought a way overkill tripod for the SWSA.
Mobile mini-rig power
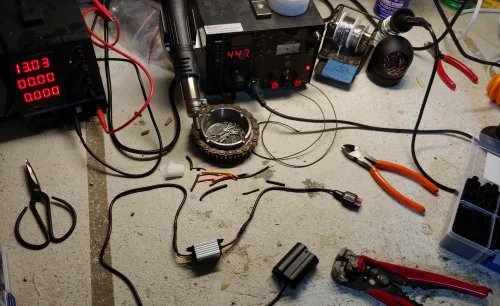
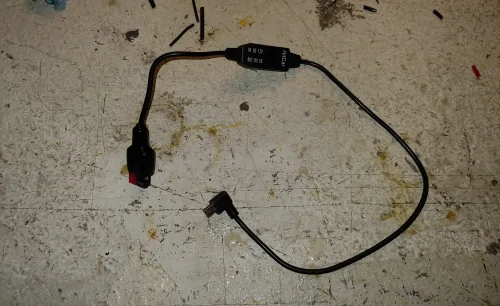
SWSA and DSLR both need power. To get them on 12v like everything else I made an all in one voltage-reducing power cable for each of them.
Dual-rigging it!
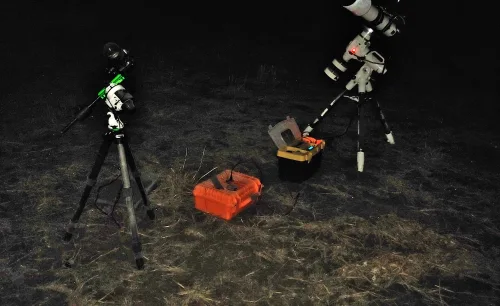
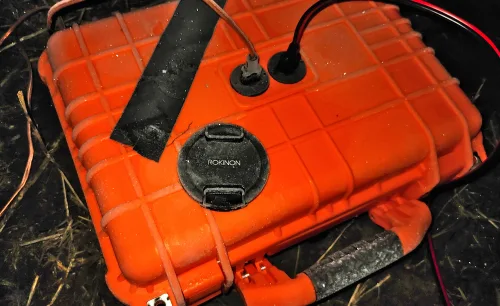
First night out imaging with both rigs, brainbox, battery, and a scope transported on my scope seat. Man, it was cold out!
Processing Workflow
Started diving back deep into improving my approach to processing. The results were noticeably better.
Darksite Blessing
Made contact with a land owner in a dark area and got his permission to take images on his land. First time to have permission to image somewhere dark...
Roki 135mm returned
Although shooting at f/2 is very nice, the optics were just not good enough for me to be happy with. I am done buying things from Rokinon.
PixInsight Scripting Intro
I gave myself a crash course in writing scripts in PJSR inside PixInsight.
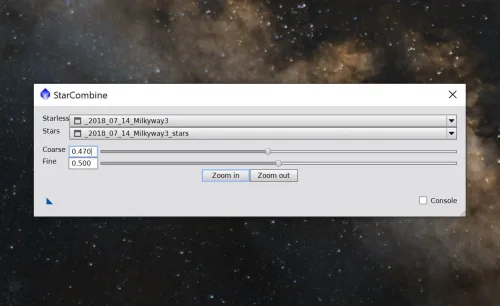
First script: StarCombine -- An interactive way to see star combination/reduction settings in real time.
Robotater
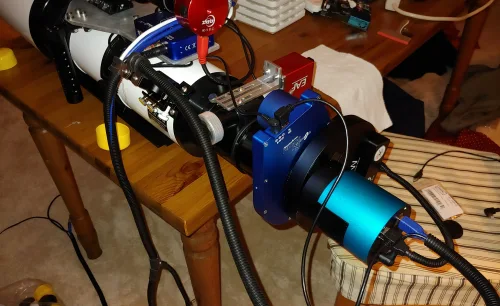
I got a Pegasus Falcon electronic camera rotator over the holidays and installed it on my imaging train.
Askar ACL200
I bought an Askar ACL200 optic for the mini-rig as a replacement for the Roki 135 I returned.
Backfocus, again
Adding rotator threw my backfocus way off and I had to set it up from scratch again. Again, it was pure suffering.
MultiLayerHDRMT
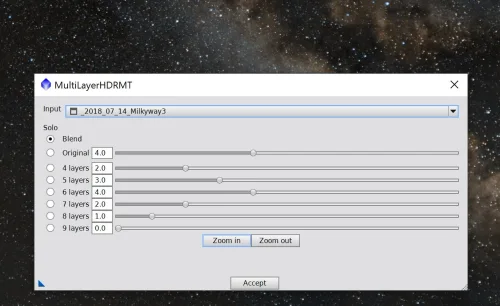
Second PixInsight script: MultiLayerHDRMT -- an automated and interactive way to do a blended HDRMT based on Chaotic Nebula's tutorial.
QuickMaskIcon
Third PixInsight script: QuickMaskIcon -- a tool to configure and save multi-step mask-making processes that accompany various workflow steps, in order to reduce processing tedium and clean up processing icons dealing with making masks.
Scope Car Seat Springs
Foam cushioning in the transport rig was not meeting my needs and I added some carefully spec'd springs to take most of the weight while the foam only serves to damp oscillation.
Started This Website
I laid out an initial repository, configured some settings, and started a Jekyll project that, over the course of about 4 months, evolved into this website.

